Happy Tuesday!
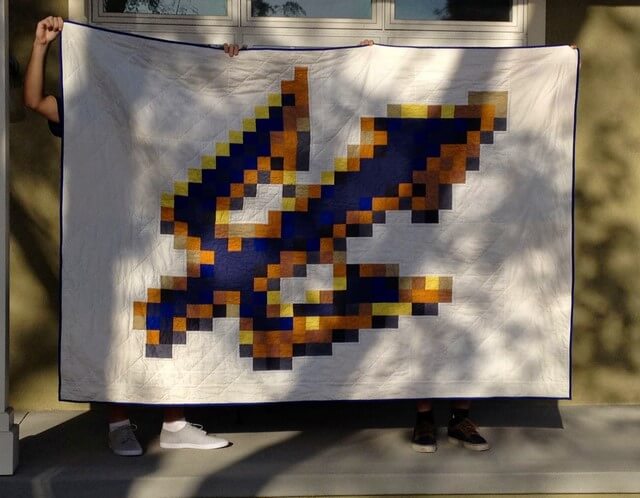
Today's post is all about the evolution of the Triton Quilt I made for my son who is now a Freshman at University of California at San Diego (UCSD).
Beginning Idea: Saturday, April 5th ~ Triton Day/Preview Day at UCSD. On drive to campus my son asked if I would make him a quilt and the design process began.
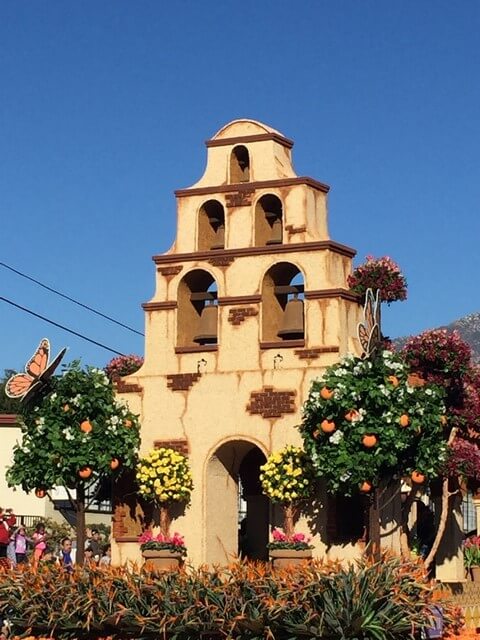
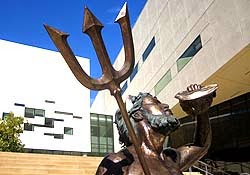
As we walked around campus, I found my inspiration.
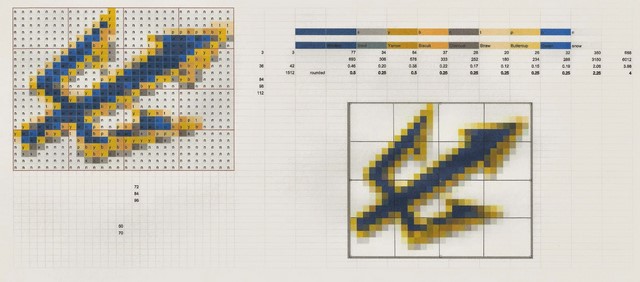
Process: I used the
Pictures to Pixels class by Caro Sherridan on Craftsy.com. Although time consuming, the instructions were very clear. I highly recommend this class if you wish to make a pixelated quilt.
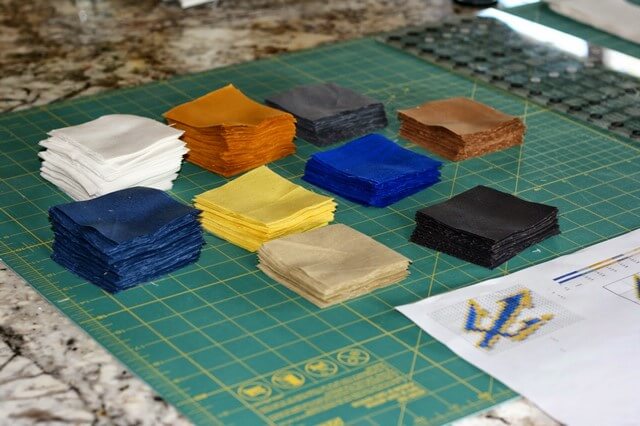
Once I finished finding all of the various Kona Color fabrics I needed, I began cutting on 9/3/14.
|
| First stacks of fabric cut and ready. Squares are 3" x 3". |
|
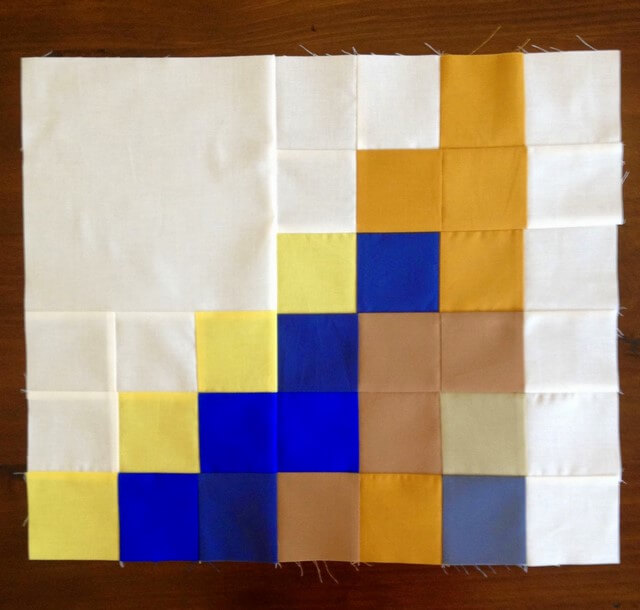
Block 1 finished. 9/8/14
Blocks are 18" x 15". |
|
| Block 2 finished. 9/9/14 |
|
| Six Blocks done. 9/10/14 |
|
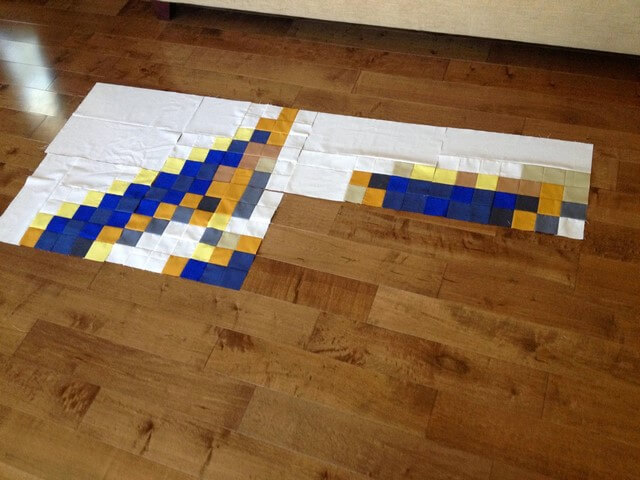
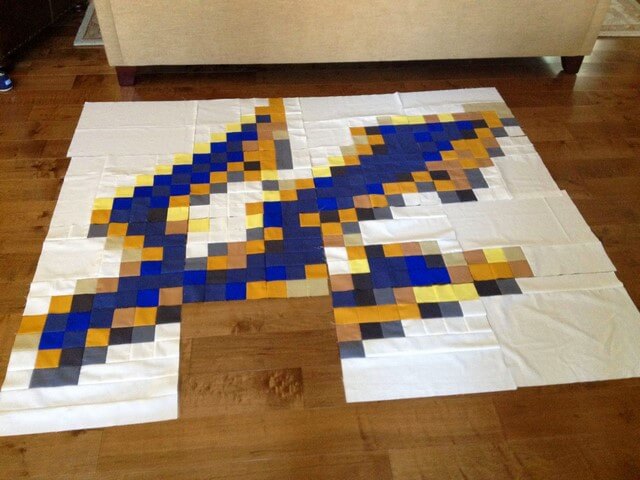
| 9/19/14 ~ I thought I had all 16 done.... |
|
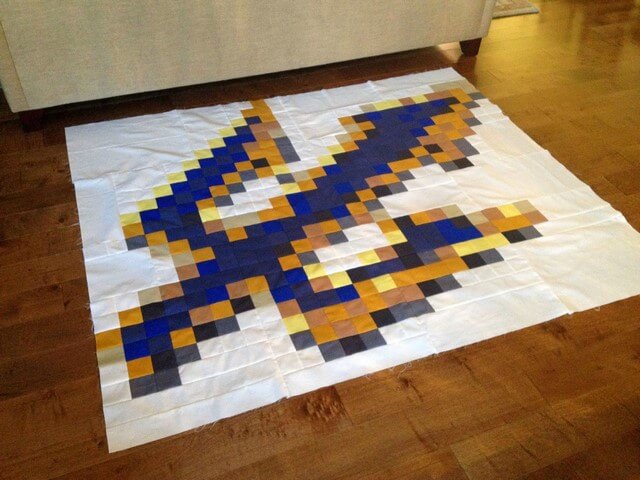
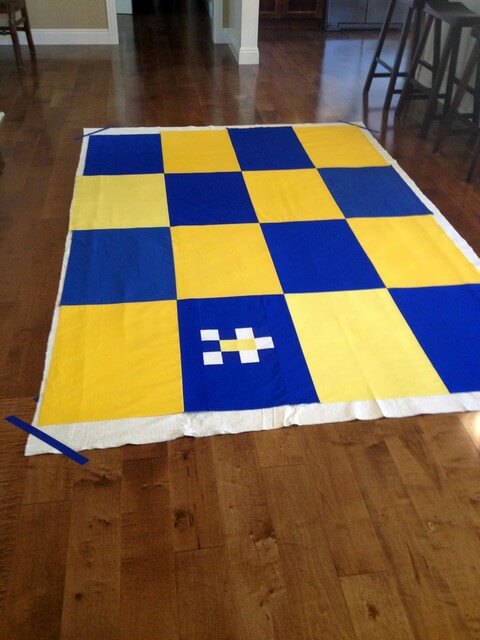
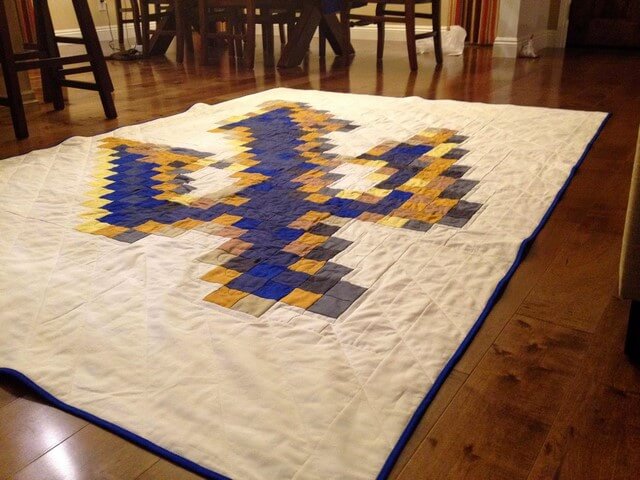
| 9/21/14 All 16 sewn together. Success! |
|
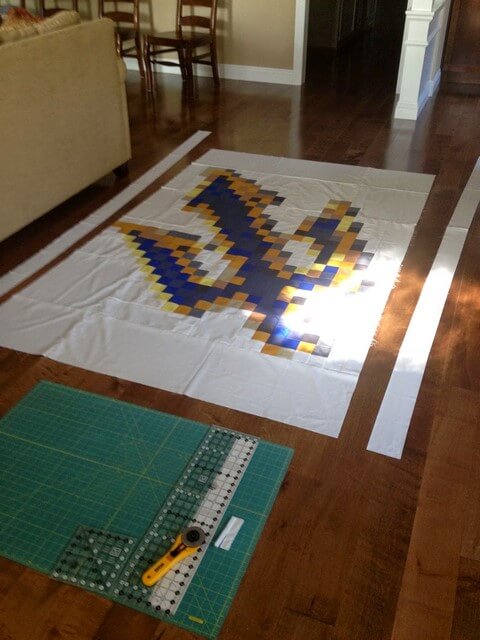
| 9/22/14 Adding more Kona Snow to bring quilt top to 95" x 65". |

|
| 9/24/14 Quilt backing done ~ hanging over kitchen island. |
|
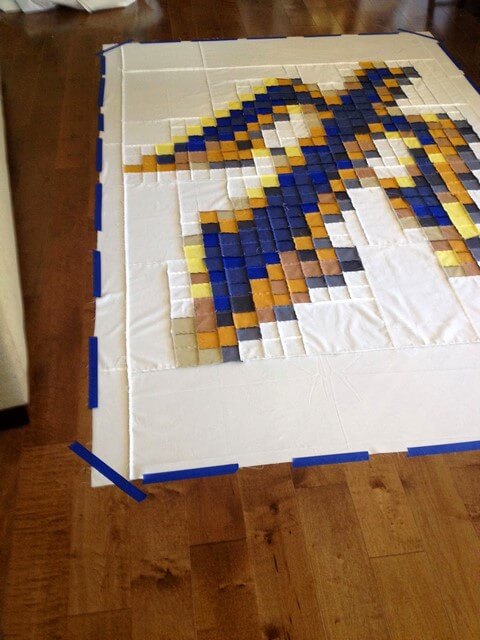
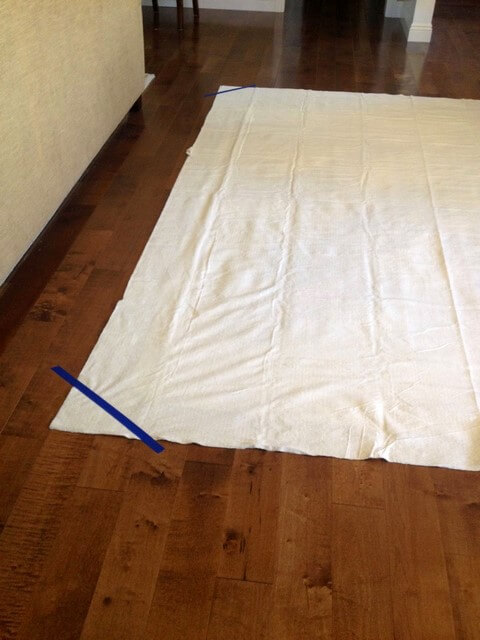
| 9/24/14 Taping down quilt top to ready for basting. |
|
| 9/24/14 Batting |
|
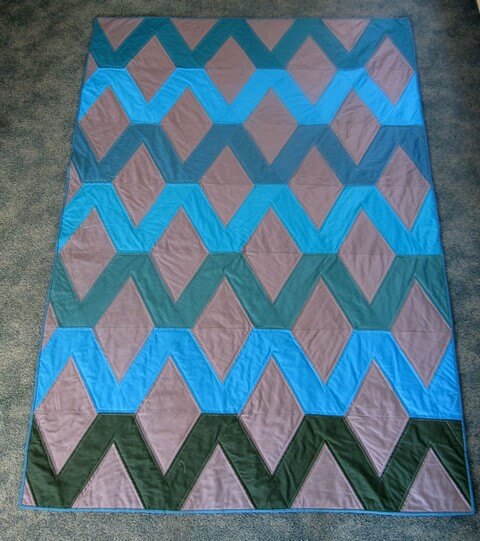
| 9/24/14 Quilt backing - Checkerboard squares of Kona Ocean and Corn Yellow, |

|
| 9/24/14 Pinning the layers together. OMG be careful not to scratch the floor with the pins! |
|
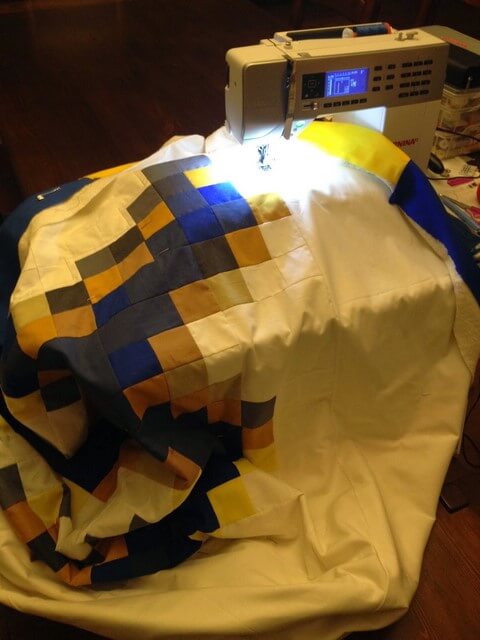
| 9/25/14 Start of the quilting process. |
Quilting took three days. I did a straight line quilt pattern approximately 3.5 inches apart all throughout the Kona Snow using
Aurifil #2024 White. On the Triton design itself, I used
Auriful #2740 Dark Cobalt, quilted in a stipple pattern meandering around from the bottom, and up and down all three tines.
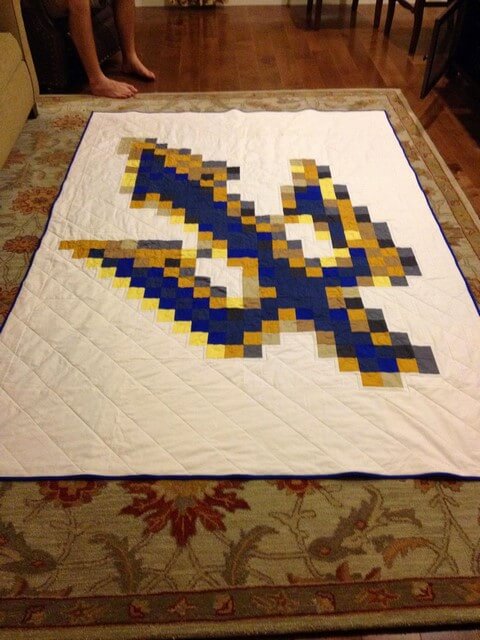
Ending: Friday, September 29, 2014 at approximately 11:30pm. Here is the quilt after it was washed and dried. I was exhausted but exhilarated to be finished with this project. Just in time!
|
| By the way at 10:00pm at night these two boxes, when inside a cabinet look extremely similar....What I thought were 6 (I was paranoid of bleeding) Color Catchers were actually Bounce sheets in the washer after the cycle was finished. |
|
| 9/30/14 7:00am A quick morning shot before the quilt is packed and driven to UCSD. |
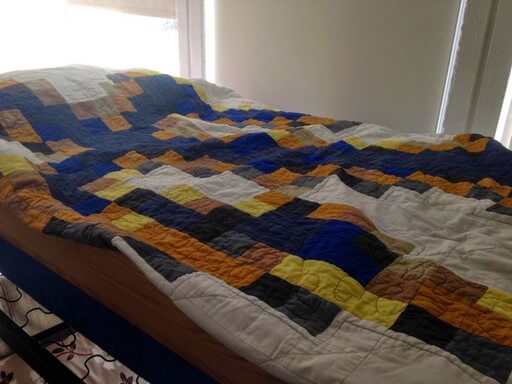
The best part of the entire process was the text I received from my son after we had said goodbye and driven home. He sent me a picture of the quilt on his bed and a sweet thank you for all of my work.
|
| 9/30/14 Approximately 3:00pm |
Hope you are having a wonderful Tuesday!
Ciao~
Susan
Wow--looks great! Nice color choices. I've never seen the quilt top basted on the bottom before. I've always layered the backing first, then the batting and then the top. Wondering what the thought process is--does it turn out better if the layers are inverted? Either way, it's a great quilt!
ReplyWOW! You are a great mom. This is a great quilt and I am glad the boy appreciates it. I bet you could sell one if you wanted to make another OR make a pattern and put it up on Craftsy!
ReplyI have never seen a quilt quilted with the top down and the backing on top. Interesting!
Great job!
Very cool! A pixelated quilt is 'on my list' - I may have to check out that class!
ReplyI caught up with you today while working on a couple of USC table runners. It was great to hear you back on the podcast airwaves! Your Triton quilt came out fantastic! I chuckled over the whole quilt kit segment, lol. I'll have you know that I bought my first quilt kit ever recently (Mr. I'm too Sexy for my Shirt skeleton).
ReplyI heard your podcast already, when you were talking about this quilt, but seeing the process is OMG!!! And when you mentioned the bounce sheet story... My breathing just stopped :) guess you were lucky the school colors don't include red :))) A question: Why are you taping the top when basting? I do it the opposite way, taping the backing right side down, and pin from the top. How does having the pins facing down while quilting work out for you?
ReplyYour quilt is amazing. great work. You have finished yours but others may be interested to try YouPatch.com. YouPatch is a pixelating service that turns a picture into a quilt pattern in a couple of simple steps. It tells you colors and figures out yardage too!! It's free to test out ideas and only $10 to get a customized pattern! Jill
ReplyI have made lots of graduation quilts, but nothing this beautifually specific! My hat's off to you for the design and quilting it on your domestic machine!
ReplySorry that the meet-up didn't happen, but I know that family comes first. Gld you got to slip into Cottonseed Glory in Annapolis; I have to run there later today.
Thank you so much for picking my card as one your winners from the teddies challenge, it is such an honour.
ReplyThank you for all your hard work in making the challenge so successful, it's a shame that the challenge is ending but I can totally understand your reasons and wish you all the best.
Blogging is the new poetry. I find it wonderful and amazing in many ways.
ReplyThat's a cool idea
ReplyThat is an extremely smart written article. I will be sure to bookmark it and return to learn extra of your useful information. Thank you for the post. I will certainly return.
ReplyI think this is among the most vital info for me. And i am glad
Replyreading your article. But wanna remark on few general things, The site style is wonderful, the articles is really great
: D. Good job, cheers
Very good idea you've shared here, from here I can be a very valuable new experience. all things that are here will I make the source of reference, thank you friends
Reply